Mini Desktop Billboard
Mini Desktop Billboard
A payment link will be emailed once your order is reviewed and perfect!
Product Description
Please view our brief review on the mini billboards. We have our favorites! https://youtu.be/tYtrmVTUapo
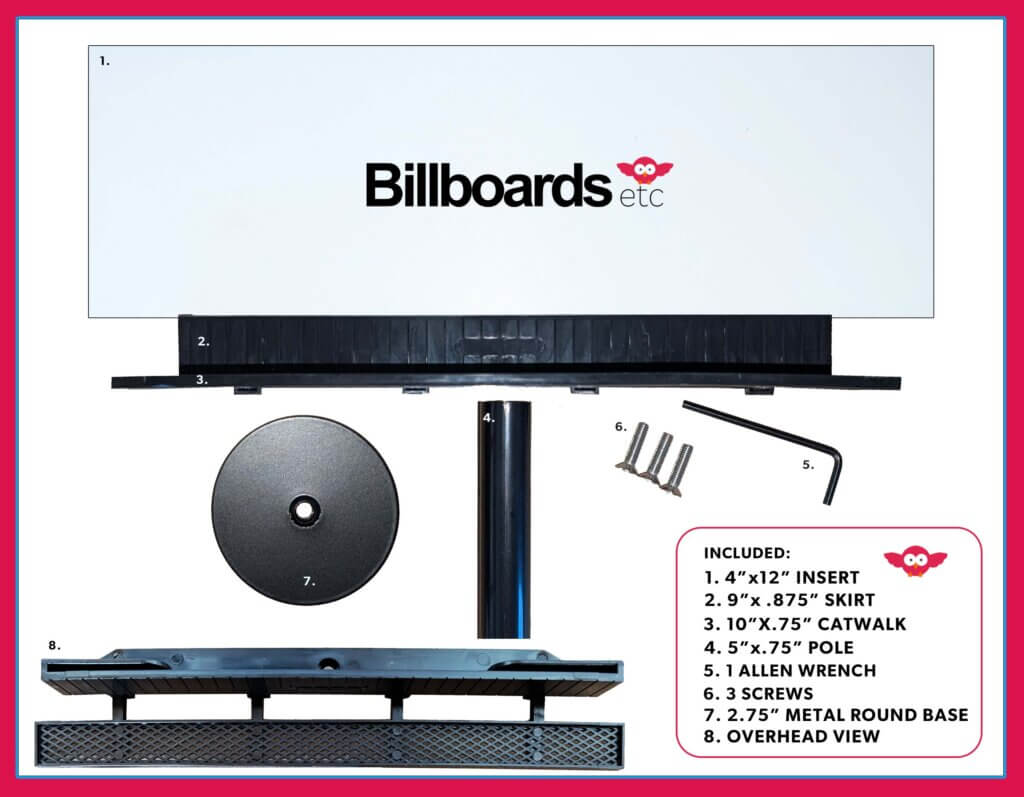
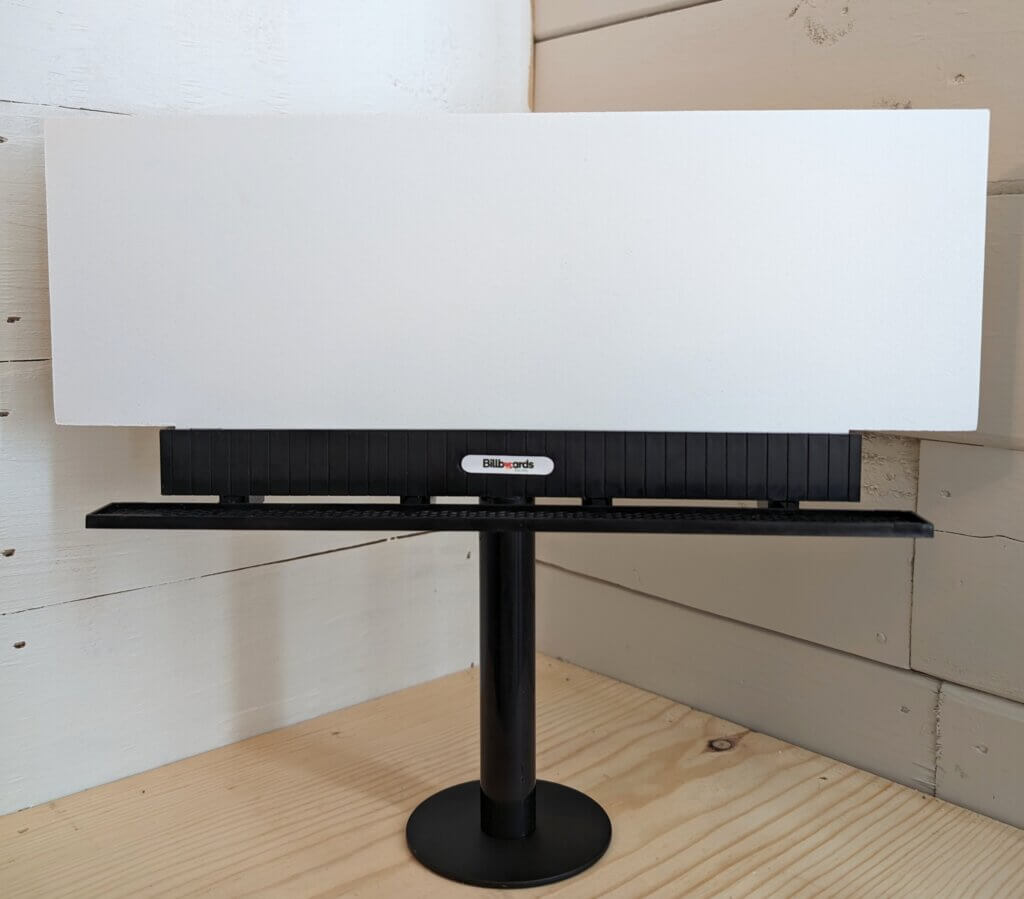
Setting up a Mini Desktop Billboard takes just 3 easy steps!
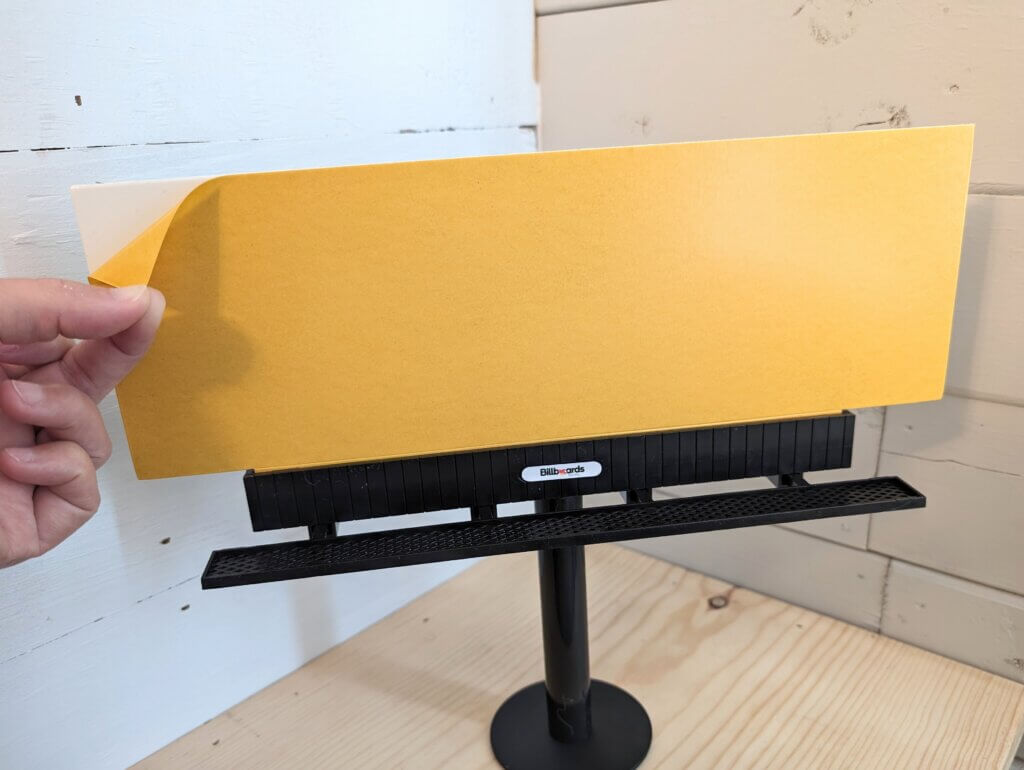
- Put ad design in template. If you need help with the design let us know.
- Print on Photo Glossy Paper. Use 8.5″x14″ Photo Glossy Paper.
- Cut & place carefully on onto your Mini Billboard face!
If you ordered a Mini Print.
- Upload your mini print design here: LINK and then please submit your order.
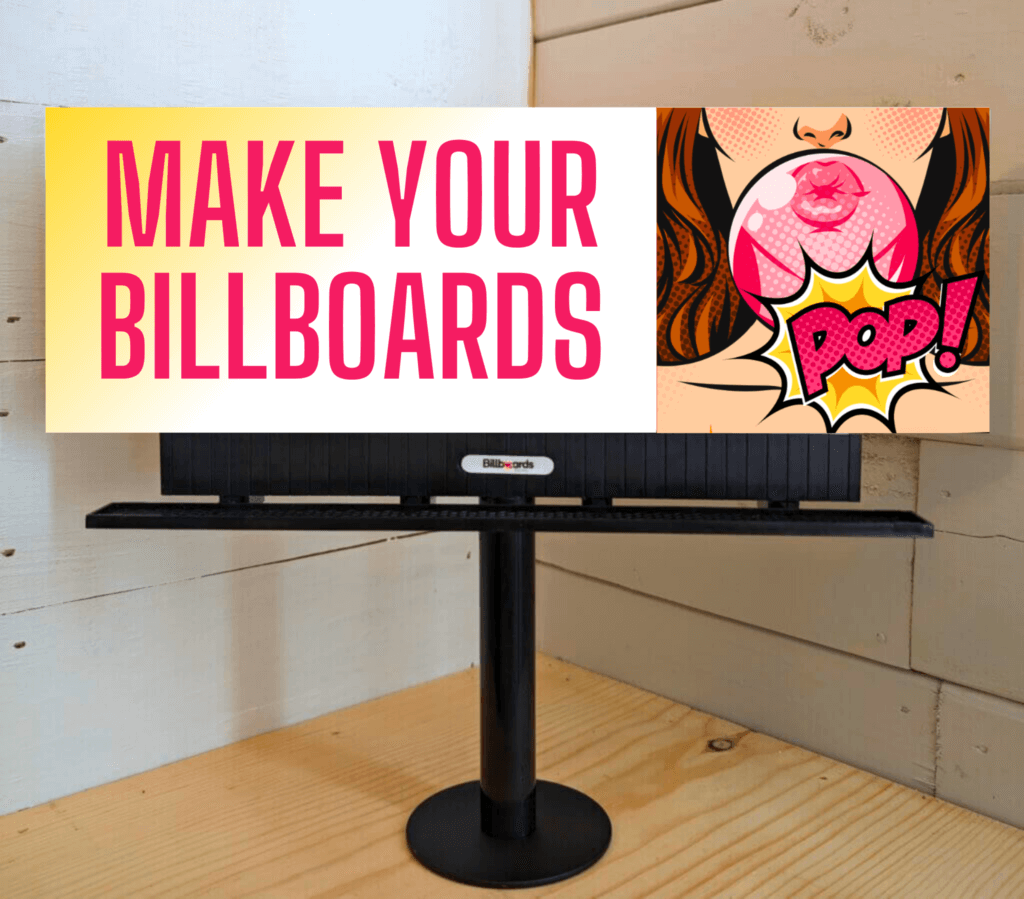
Use the mini billboard to promote your business or give them as a gift to your clients. These creative displays make for an interesting & thoughtful talking piece.
Characteristics
| Traditional / 12″ x 4″Face
TRADITIONAL MINI GRAPHIC TEMPLATE TRADITIONAL MINI PRINT INSTRUCTIONS Download template and use in your design software. Or design at 12″x4″. |
Sometimes mistakes happen! We love to help and we always find a fair solution for all!
Please view how we will help make prints right. LINK